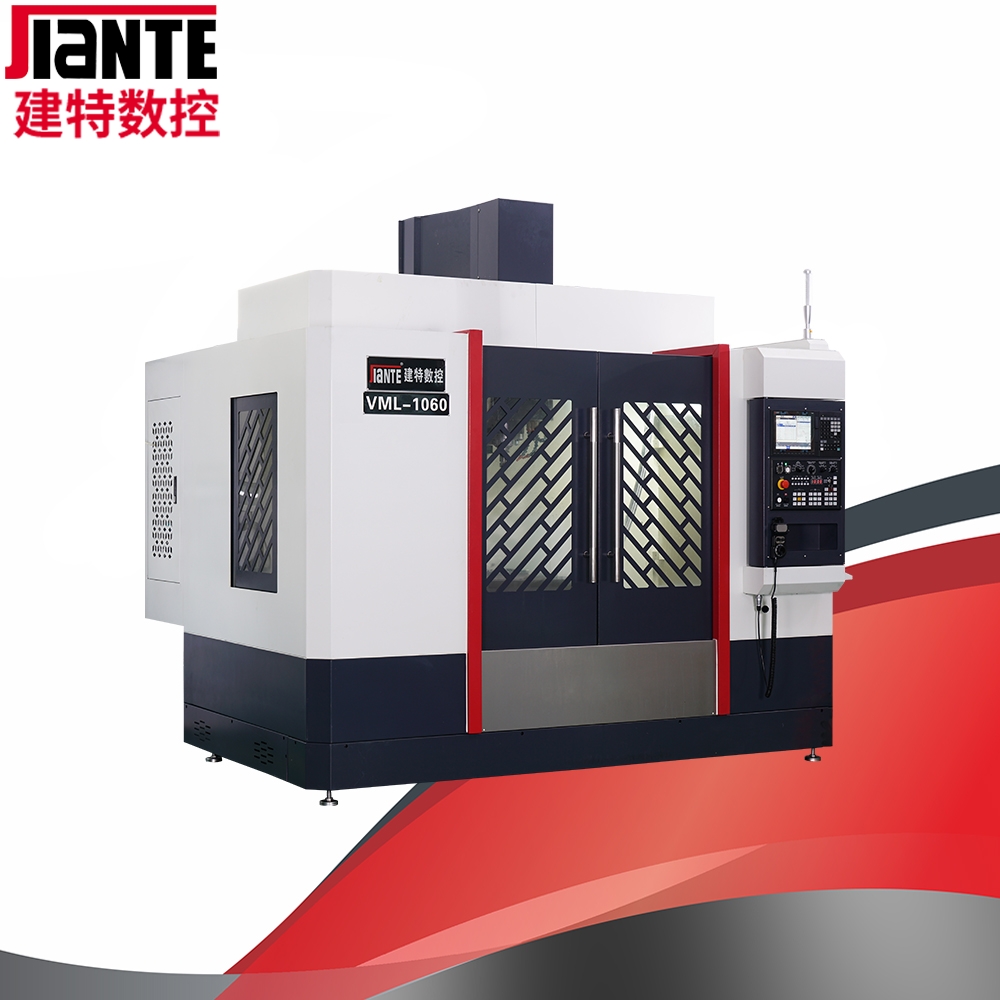
Friends who know CNC machining centers know that high precision is a major feature of machining centers. CNC parts machining center manufacturers say that machining accuracy refers to the complexity of the products produced and the mechanical terms used to evaluate the machining surface. Generally, machining accuracy is expressed in IT. IT determines the degree of dimensional accuracy and is called tolerance. The smaller the tolerance level, the higher the precision of the product workpiece, and the more difficult the machining is. So how to divide the accuracy of CNC machining? This is a brief summary of the manufacturers of CNC parts processing centers:
Generally, according to international accuracy tolerance levels, IT6 is widely used to process important adjustment indicators. IT6 shows that the surface has higher requirements for uniformity, which can guarantee higher matching performance and is stable and reliable. Machining centers can perform various processes such as drilling, milling, boring, reaming, reaming, rigid tapping.

Milling is an important process in machining centers. It can be said that all the machining processes of the machining center are made by milling. According to the movement direction of the spindle and the feed direction of the workpiece, milling can be divided into upper and lower cuts. In machining centers, cutting workpieces with rotary multi-blade tools is an efficient and versatile machining method. Suitable for processing special surfaces, such as flat surfaces, grooves, various complex surfaces and curved dies.
Milling accuracy tolerances in milling are usually as high as IT16-IT8. According to accurate tolerance machining standards, the surface roughness of the workpiece is 0.63 to 5 μm.
Excavation. Drilling is another important process for machining centers. Drilling is the basic method of drilling. Excavators and lathes are usually used for drilling. Machining centers can also meet some accuracy requirements.
The drilling accuracy is low, the tolerance level can only reach IT10, and the surface roughness of the workpiece is generally 12.5-6.3 μm. However, after drilling, drilling and drilling are often used for subsequent semi-finishing and finishing.
Generally, boring is used to machine internal parts. This is a machining process that uses a tool to enlarge the hole or cut the inside diameter of a circular profile. Usually used from semi-rough to finishing. The precision tolerances of steel workpieces reach IT9-IT7, and the surface roughness is 2.5-0.16μm. Crown Education has an in-depth understanding of dry goods.
In the current machining process, grinding accuracy is high and tolerance levels are low. The tolerance level of stamping and die-casting is very high, and the precision tolerance of each process can be understood, so CNC intelligent machine tools can achieve high precision characteristics.
QQ:380598058
Cell/Whatsppp:+8618948856139
Email:julie.cnc688@gmail.com
address:No. 10, Industrial Avenue Middle,
Xiaolan Town, Zhongshan City (Building A)
